| [version en cours de rédaction] | [version en cours de rédaction] |
| Ligne 16 : | Ligne 16 : | ||
}} | }} | ||
{{Tuto Step | {{Tuto Step | ||
| − | |Step_Title=<translate></translate> | + | |Step_Title=<translate>Removing Current Wiring</translate> |
| + | |Step_Content=<translate></translate> | ||
| + | |Step_Picture_00=A2001_-_Light_Curtain_Timer_Capture.PNG | ||
| + | }} | ||
| + | {{Tuto Step | ||
| + | |Step_Title=<translate>Adding in Timer Relay</translate> | ||
|Step_Content=<translate></translate> | |Step_Content=<translate></translate> | ||
|Step_Picture_00=A2001_-_Light_Curtain_Timer_Capture.PNG | |Step_Picture_00=A2001_-_Light_Curtain_Timer_Capture.PNG | ||
Version actuelle datée du 21 février 2020 à 16:23
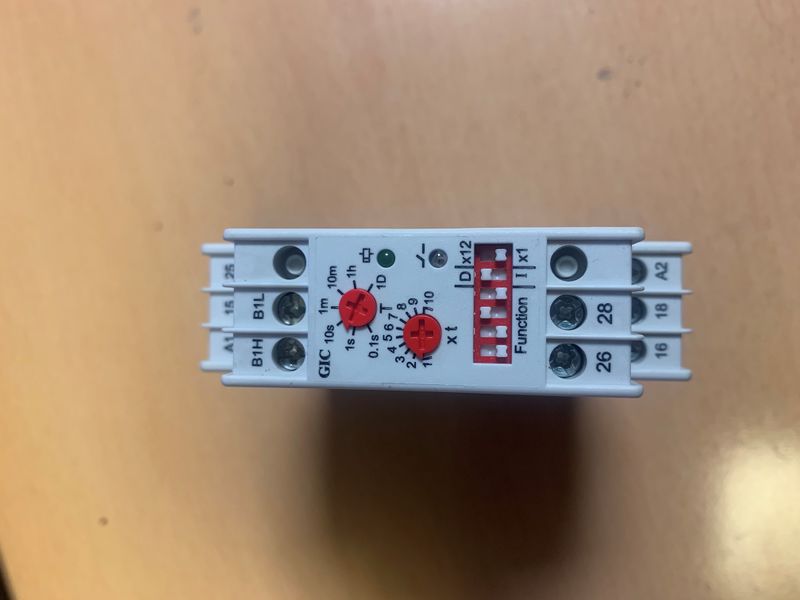
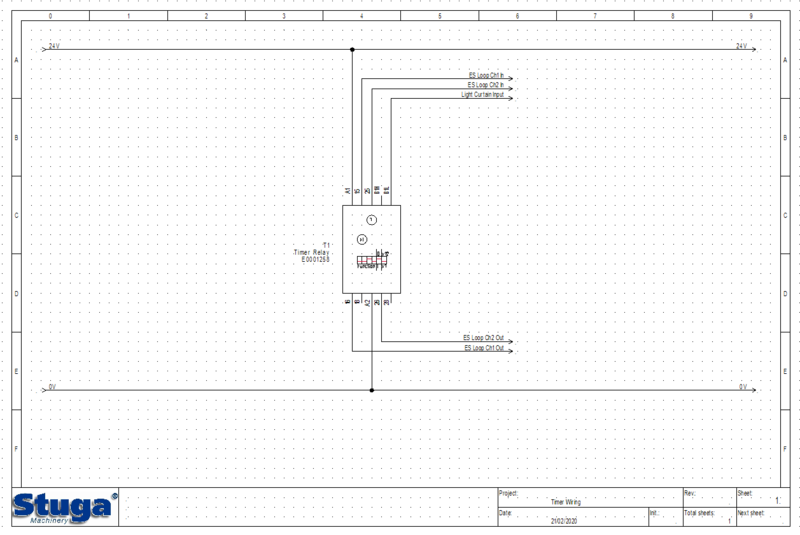
This tutorial will explain how to fit a timer into the light curtain and ES circuit.
Difficulté
Moyen
Durée
30 minute(s)
Introduction
This step by step guide will explain how to wire a timer relay into the light curtain and estop circuit on the A2001 Autoflow.
Consulter le manuel d'instructions
Pour l'entretien, débranchez l'appareil du secteur
Haute Tension
Draft


 Français
 English
 Deutsch
 Español
 Italiano
 Português