| [version en cours de rédaction] | [version en cours de rédaction] |
(Page créée avec « {{Tuto Details |Main_Picture=Troubleshoot_-_Permanent_IP_Address_-_Windows_7_Embedded_-_Beckhoff_CX5120__web.jpg |Main_Picture_annotation={"version":"2.4.6","objects":[{"t... ») |
|||
| Ligne 22 : | Ligne 22 : | ||
|Step_Picture_00=Troubleshoot_-_Permanent_IP_Address_-_Windows_7_Embedded_-_Beckhoff_IP2.PNG | |Step_Picture_00=Troubleshoot_-_Permanent_IP_Address_-_Windows_7_Embedded_-_Beckhoff_IP2.PNG | ||
|Step_Picture_01=Troubleshoot_-_Permanent_IP_Address_-_Windows_7_Embedded_-_Beckhoff_RD.PNG | |Step_Picture_01=Troubleshoot_-_Permanent_IP_Address_-_Windows_7_Embedded_-_Beckhoff_RD.PNG | ||
| + | }} | ||
| + | {{Tuto Step | ||
| + | |Step_Title=<translate>IP Information</translate> | ||
| + | |Step_Content=<translate>When changing a permanent IP address it must be changed to an IP address that has been reserved. The customer is the only person that can assure this. If we cannot gather a permanent IP address put address as high to 250 as possible. Check this IP address is not taken by pinging it. | ||
| + | |||
| + | |||
| + | All other information can be gathered through typing '''ipconfig/all''' in the command prompt.</translate> | ||
| + | |Step_Picture_00=Troubleshoot_-_Permanent_IP_Address_-_Windows_7_Embedded_-_Beckhoff_IP7.PNG | ||
}} | }} | ||
{{Tuto Step | {{Tuto Step | ||
|Step_Title=<translate>Navigate and Change</translate> | |Step_Title=<translate>Navigate and Change</translate> | ||
| − | |Step_Content=<translate># Go to '''Start''' | + | |Step_Content=<translate>#Go to '''Start''' |
| − | # '''Control Panel''' | + | #'''Control Panel''' |
| − | # '''Network Connection''' | + | #'''Network Connection''' |
| − | # There will be two networks present: one will show EtherCAT; the other '''EtherNET''' or '''Local Area Connection, Right Click''' on this and go to '''Properties.''' | + | #There will be two networks present: one will show EtherCAT; the other '''EtherNET''' or '''Local Area Connection, Right Click''' on this and go to '''Properties.''' |
| − | # Scroll down the connection options and left click the text of '''Internet Protocol (TCP/IP)''' and click '''Properties''' | + | #Scroll down the connection options and left click the text of '''Internet Protocol (TCP/IP)''' and click '''Properties''' |
| − | # Input IP address, subnet mask and default gateway, preferred and alternate DNS server. | + | #Input IP address, subnet mask and default gateway, preferred and alternate DNS server. |
| − | # Click '''OK''' to submit.</translate> | + | #Click '''OK''' to submit.</translate> |
|Step_Picture_00=Troubleshoot_-_Permanent_IP_Address_-_Windows_7_Embedded_-_Beckhoff_IP3.png | |Step_Picture_00=Troubleshoot_-_Permanent_IP_Address_-_Windows_7_Embedded_-_Beckhoff_IP3.png | ||
|Step_Picture_01=Troubleshoot_-_Permanent_IP_Address_-_Windows_7_Embedded_-_Beckhoff_IP4.png | |Step_Picture_01=Troubleshoot_-_Permanent_IP_Address_-_Windows_7_Embedded_-_Beckhoff_IP4.png | ||
| Ligne 39 : | Ligne 47 : | ||
{{Notes}} | {{Notes}} | ||
{{PageLang | {{PageLang | ||
| + | |Language=en | ||
|SourceLanguage=none | |SourceLanguage=none | ||
|IsTranslation=0 | |IsTranslation=0 | ||
| − | |||
}} | }} | ||
{{Tuto Status | {{Tuto Status | ||
|Complete=Draft | |Complete=Draft | ||
}} | }} | ||
Version actuelle datée du 2 octobre 2019 à 17:56
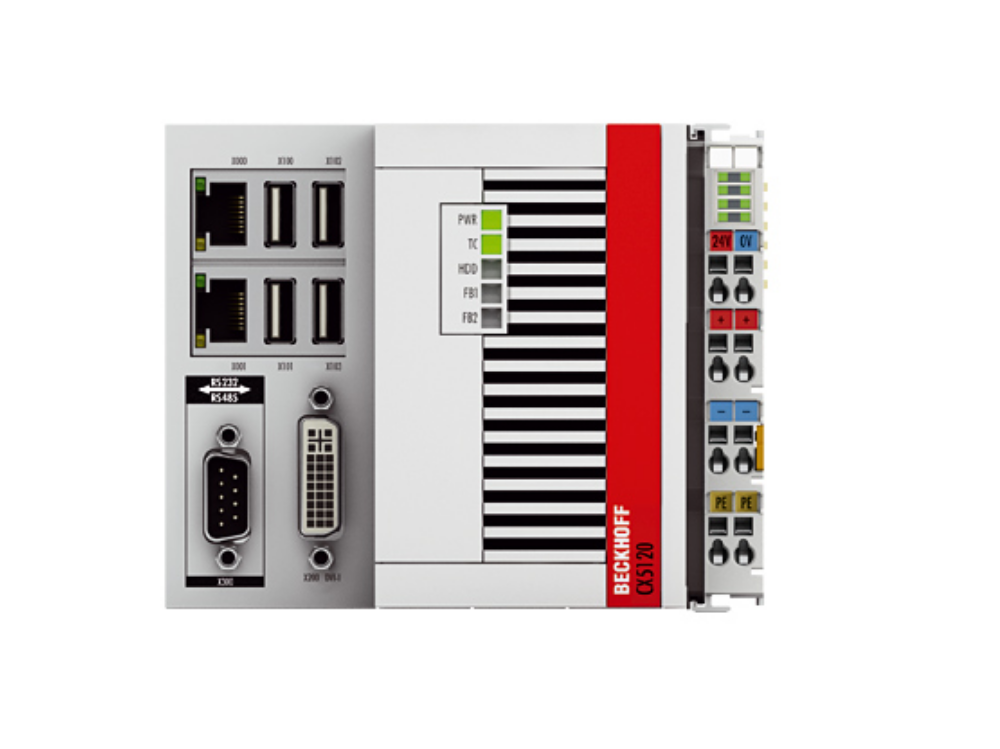
How to setup or change the IP address on a Beckhoff CX5120/CX5020 running on Windows 7 Embedded.

Difficulté
Facile
Durée
5 minute(s)
Étape 1 - No Teamviewer?
Sometimes there is no possible way of connecting to a Beckhoff PC due to an IP address conflict. In this case there are two options:
- The customer must find a monitor with DVI port, DVI cable, USB keyboard, USB mouse and complete the next steps.
- Connect to the PLC via Remote Desktop from the front end PC using the PLC name (i.e F050B)


Étape 2 - IP Information
When changing a permanent IP address it must be changed to an IP address that has been reserved. The customer is the only person that can assure this. If we cannot gather a permanent IP address put address as high to 250 as possible. Check this IP address is not taken by pinging it.
All other information can be gathered through typing ipconfig/all in the command prompt.

- Go to Start
- Control Panel
- Network Connection
- There will be two networks present: one will show EtherCAT; the other EtherNET or Local Area Connection, Right Click on this and go to Properties.
- Scroll down the connection options and left click the text of Internet Protocol (TCP/IP) and click Properties
- Input IP address, subnet mask and default gateway, preferred and alternate DNS server.
- Click OK to submit.


Draft
 Français
 English
 Deutsch
 Español
 Italiano
 Português