| [version en cours de rédaction] | [version en cours de rédaction] |
| Ligne 74 : | Ligne 74 : | ||
| − | Attach with M6 | + | Attach with M6 x 16Countersink and M6 F0000299 D nuts |
Version du 16 novembre 2023 à 15:14
instructions to mount buffer bars
Introduction
Tools Required
Standard Hex key set
Parts Required
D0015463 Infeed Front Endfence x1
D0015464B Infeed Rear Endfence x 1
D0015465 Endfence Spacer - Short x 3
D0015466 Endfence Spacer - Long x 3
D0016335 light curtain mounting post x 1Étape 1 - Unless otherwise stated
Use loctite 243 on all fasteners
Use Loctite 572 on all threaded pneumatic connections
Pen mark all bolts to show finalised
Étape 2 - Check D0015464B Infeed Rear Endfence
Check D0015464B Infeed Rear Endfence has been drilled for m6 countersinks
If not rework and note rework time
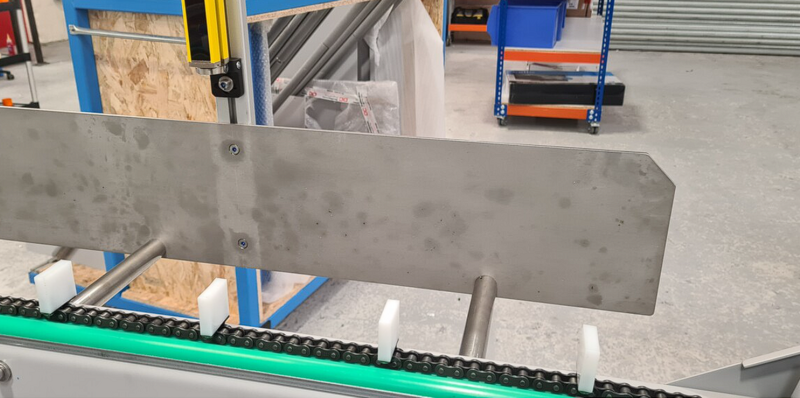
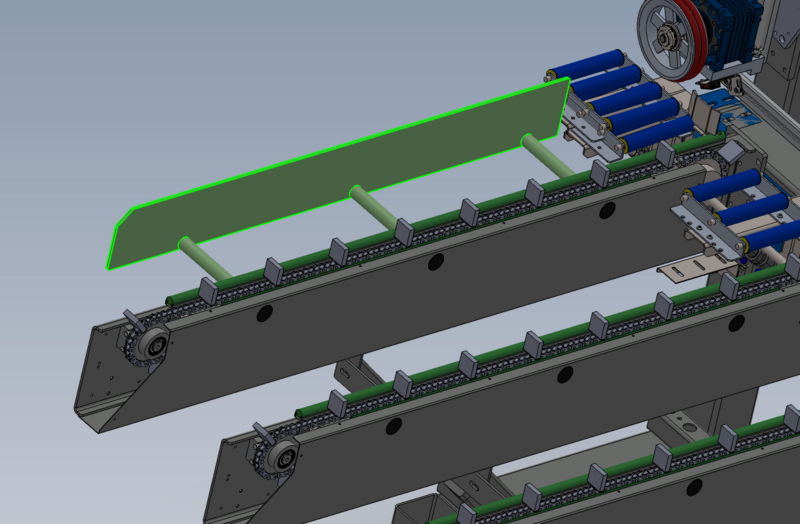
Étape 3 - Attach front buffer bar
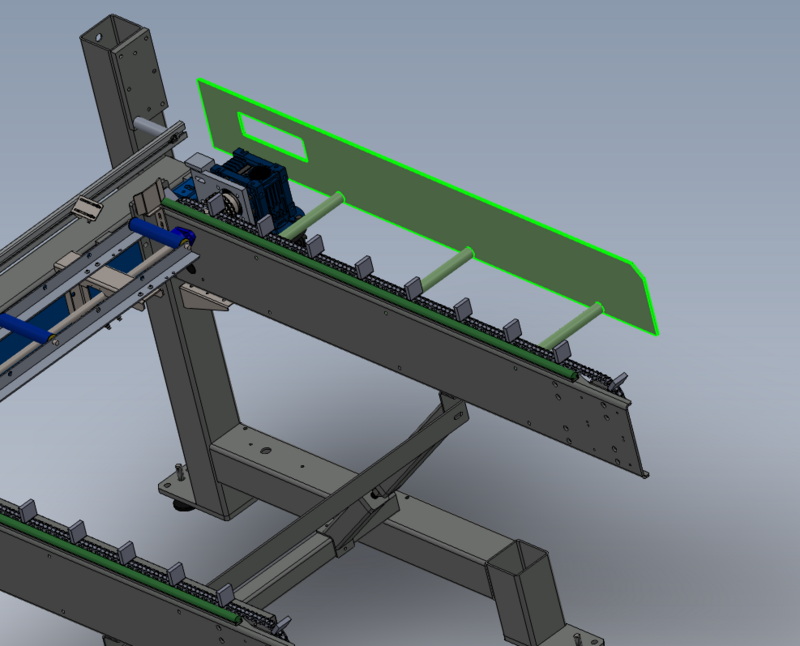
Attach 3 off D0015465 Endfence Spacer - Short infeed to end of frame . Secure with 3 off m8 x 25 socket caps and heavy M8 washers
Attach D0015463 Infeed Front Endfence to fitted posts and secure with 3 off M8 x 25 socket caps and heavy M8 washers
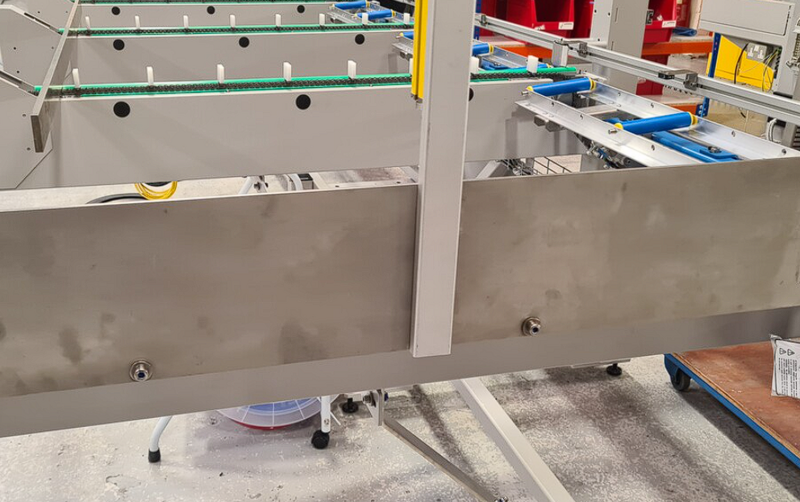
Étape 4 - Attach rear buffer bar
Attach 3 off D0015466 Endfence Spacer - Long to loader arm with 3 off M8 x 25 socket caps and heavy M8 washers
Mount in place D0015464B Infeed Rear Endfence and secure with M8 x 25 socket caps and heavy M8 washers
Do not apply adhesive or apply final tension to these bolts as end plate will need to be removed in a later stage of build
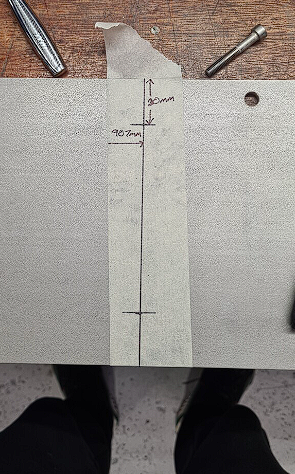
Étape 5 - Mount light curtain post
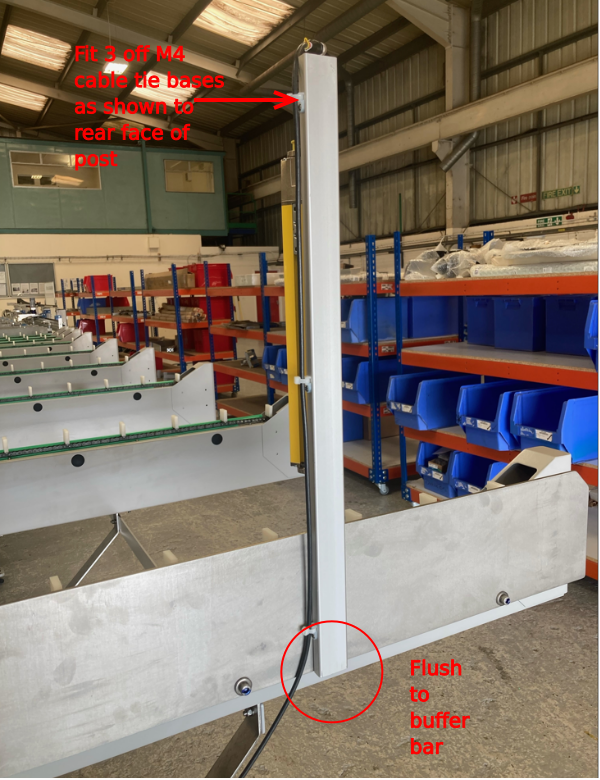
Attach D0016335 light curtain post as shown ( light curtain and cable will be fitted later )
Attach with M6 x 16Countersink and M6 F0000299 D nuts
Position flush with bottom of buffer bar as shown
Fit 3 off M4 cable tie bases and secure with m4 x 6 button sockets
Draft


 Français
 English
 Deutsch
 Español
 Italiano
 Português